


How to Publish Your First Product
Step 1: Go to Your Product List
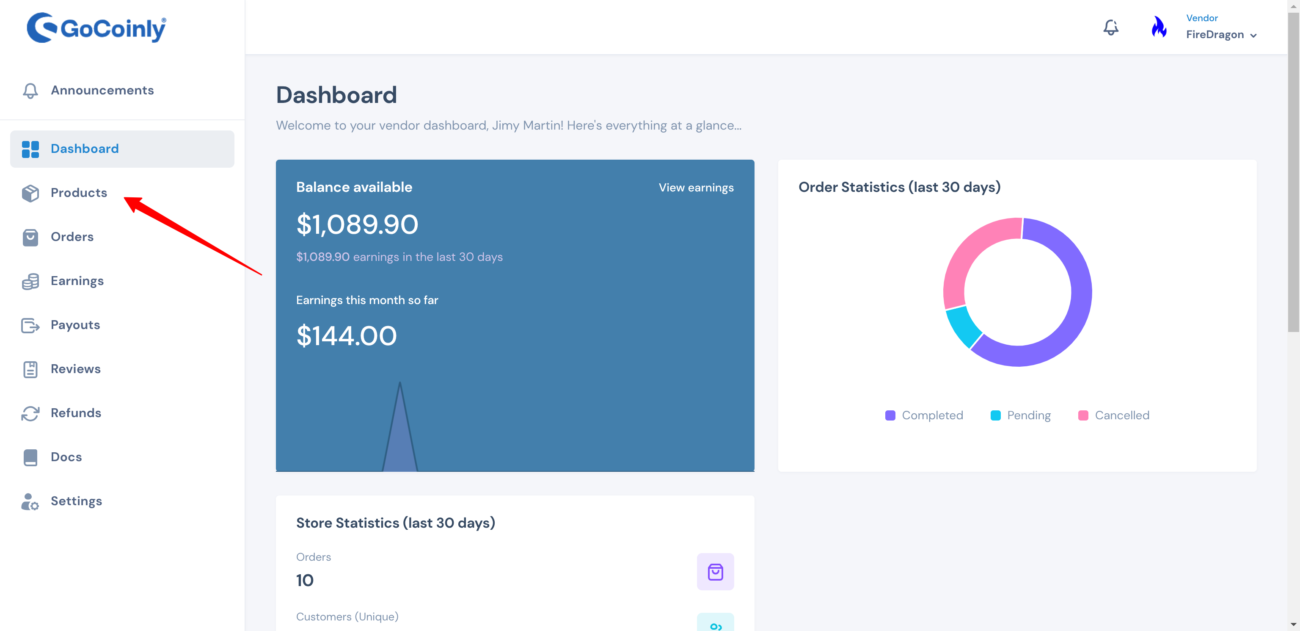
- Dashboard Menu: On your vendor dashboard, look at the menu on the left-hand side.
- Find Products: Locate the “Products” option in the menu,
- Select Products: Click on “Products” to proceed to the product list.
Step 2: Add a New Product
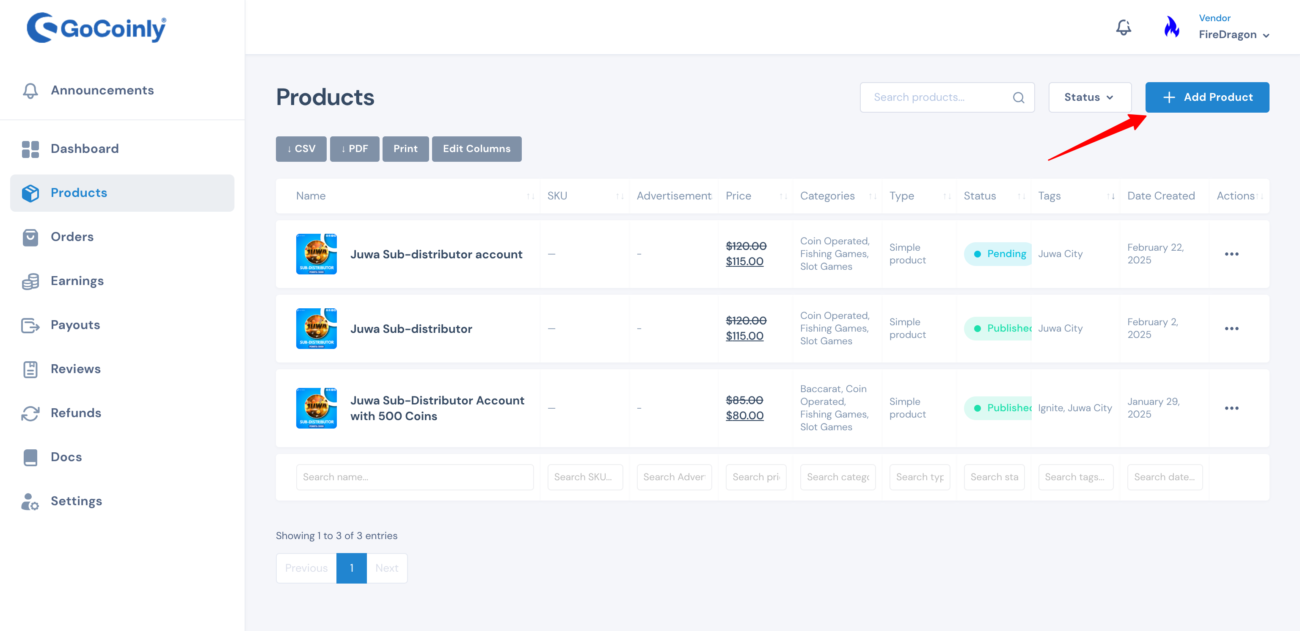
- Add Product: After clicking on “Products,” you’ll see the product list.
- Create Product: Click on the “Add Product” button to start creating your first product.
Step 4: Enter Product Name
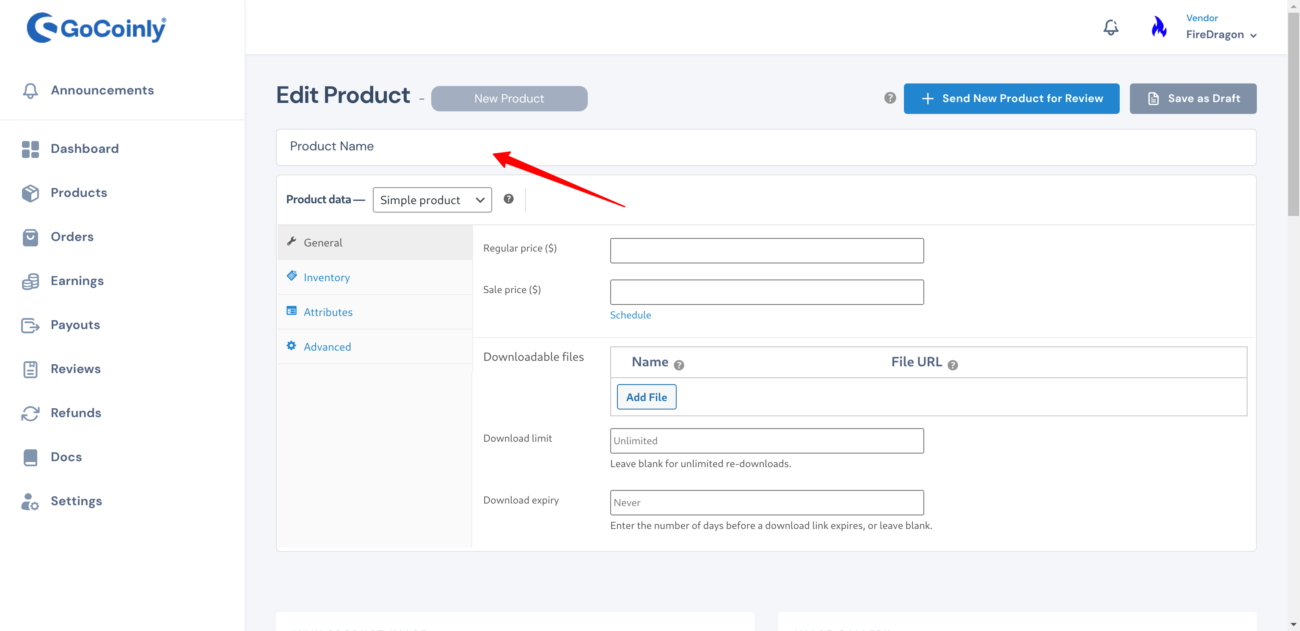
- After Clicking Add Product: You’ll see the product editing interface.
- Product Name: Enter the product name (e.g., Juwa Sub-Distributor Account).
Step 5: Enter Product Prices
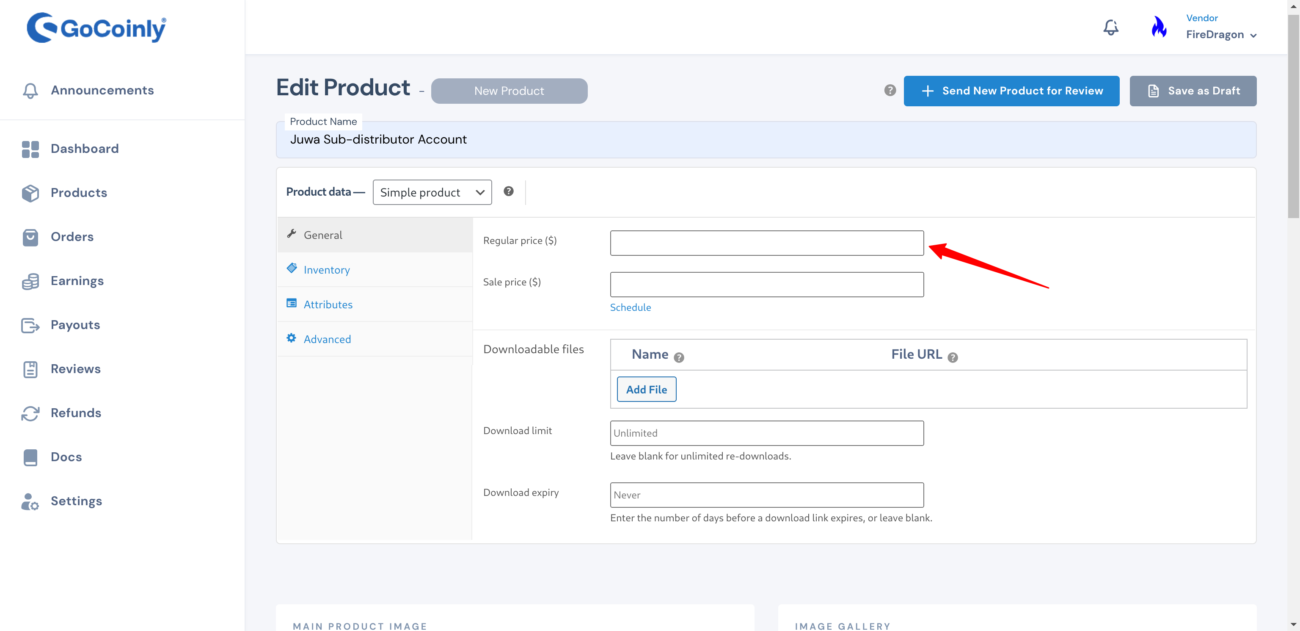
- After Entering Product Name: You’ll see fields for entering the Regular price ($) and Sale price ($).
- Prices: Enter the regular and sale prices for your product.
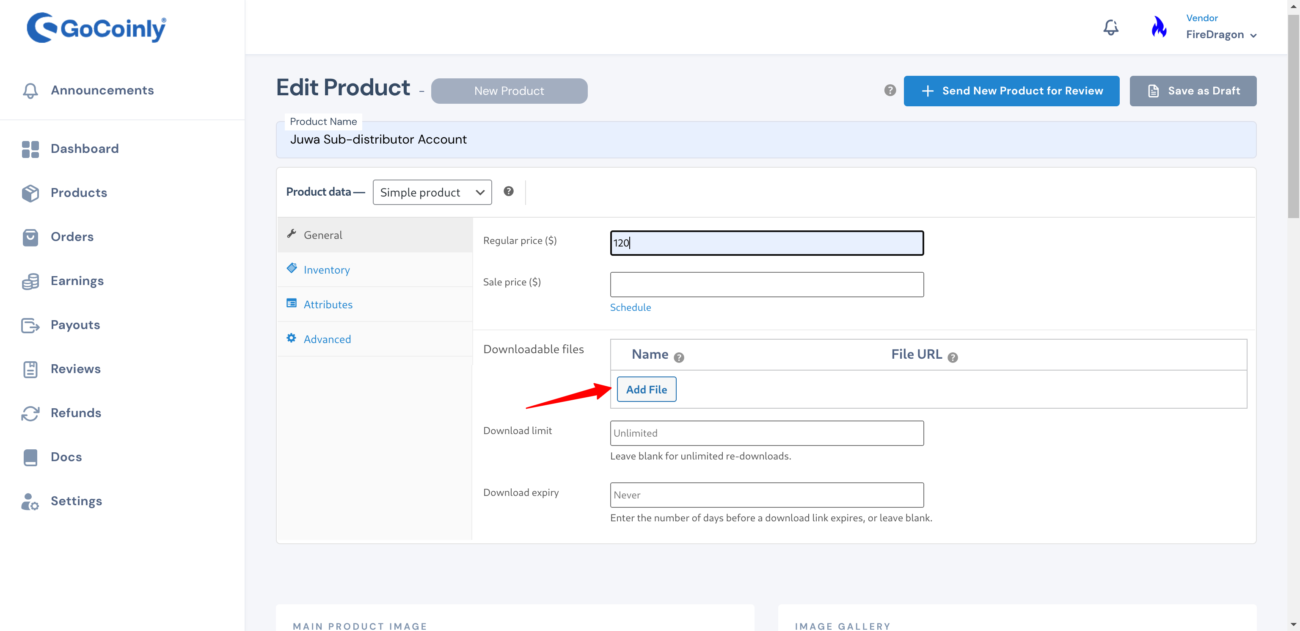
Step 5: Add Downloadable File
- After Entering Product Name: You’ll see the field for uploading downloadable files.
- Upload File: Click the “Add File” button to upload your credential file with coins.
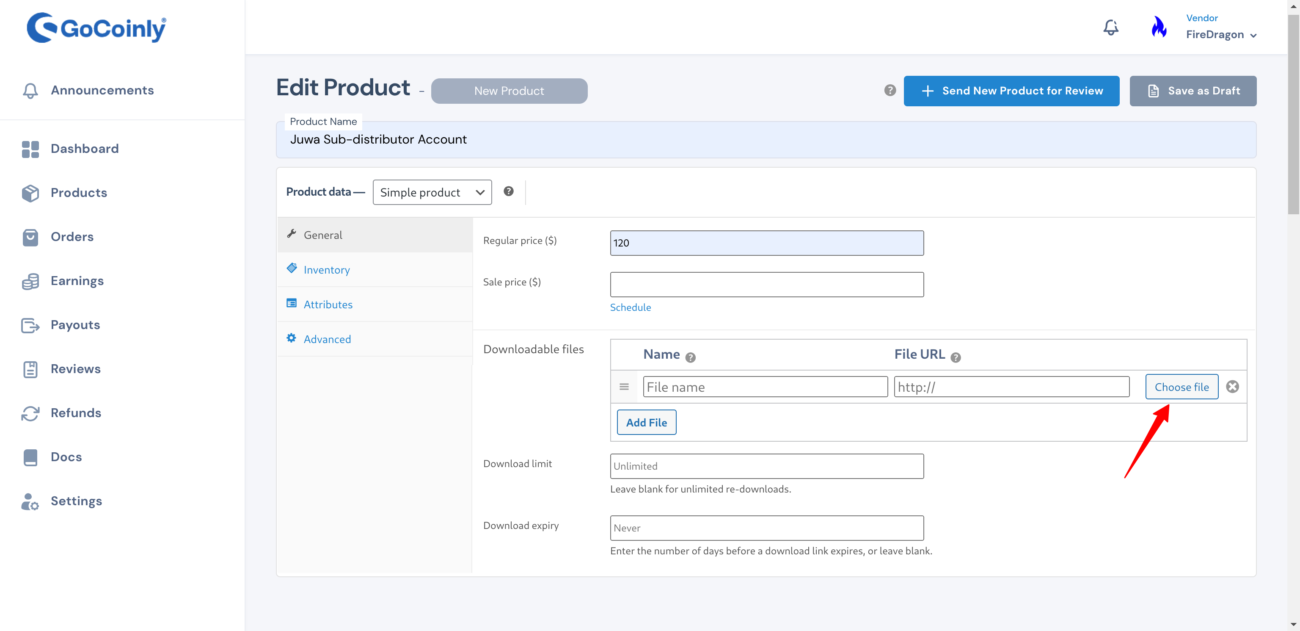
Step 6: Upload File
- After Clicking on Add File: You’ll see fields for uploading the file.
- Upload File: Click on the “Choose file” button to upload your credential file.
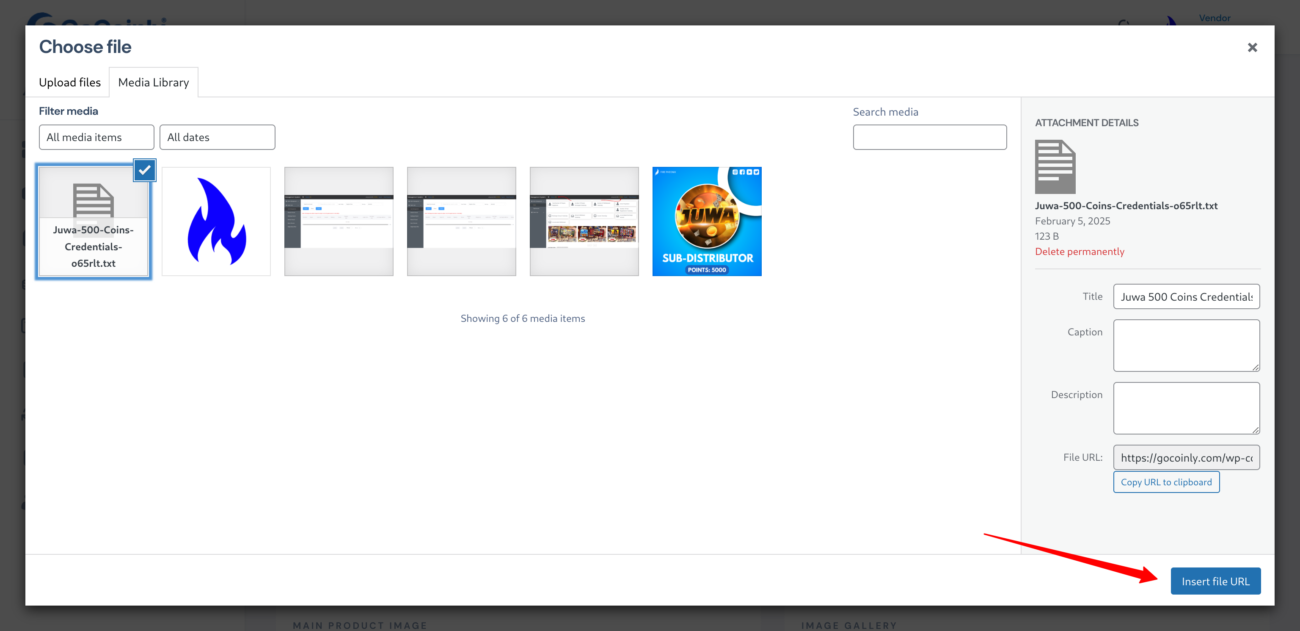
Step 7: Upload Credential File
- After Choose File: You’ll see the file upload interface.
- Upload File: Click on the “Select Files” button to upload your credential file.

Step 7: Upload Credential File
- Upload File: Click on the “Select Files” button to upload your credential file.
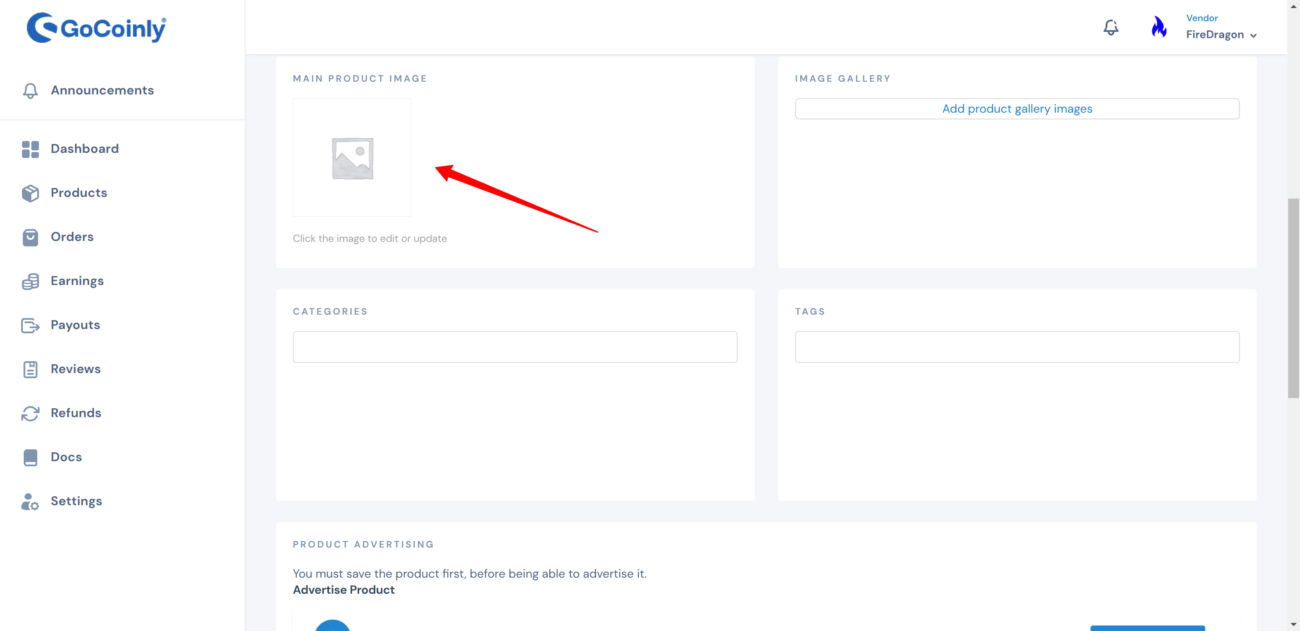
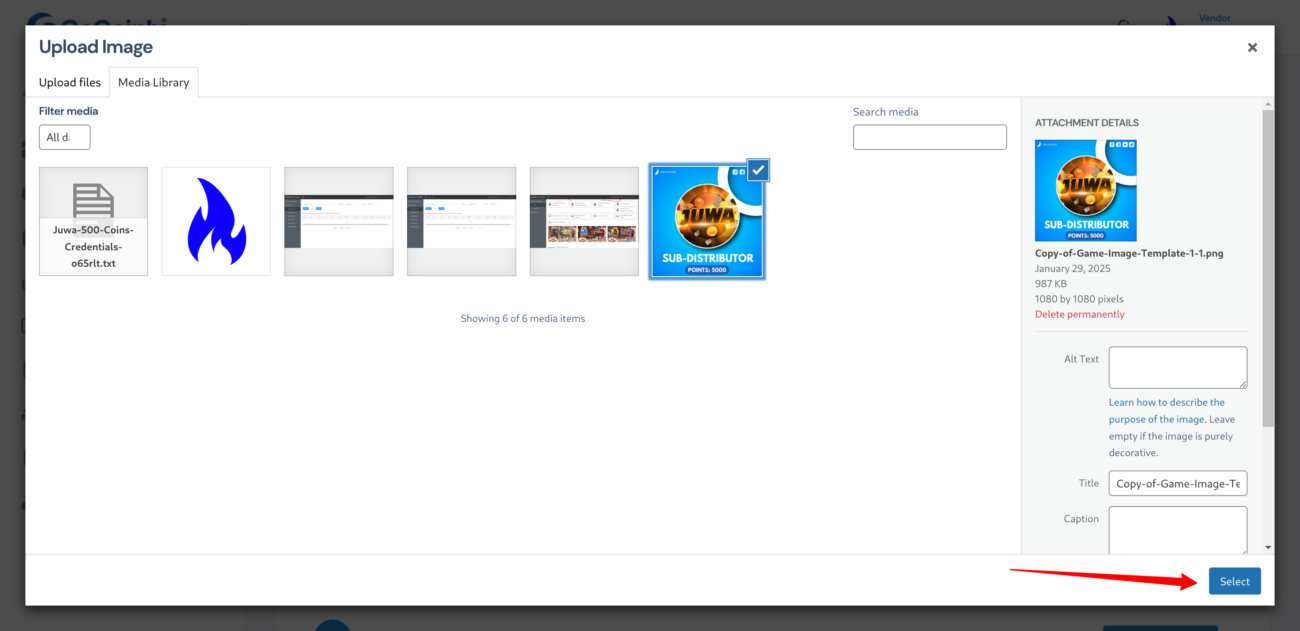
Step 8: Upload Product Image
- Add Image: Click on the “Upload Image” button to add your product image.
Step 7: Upload Product Image
- Add Image: Click on the “Upload Image” button to add your product image.
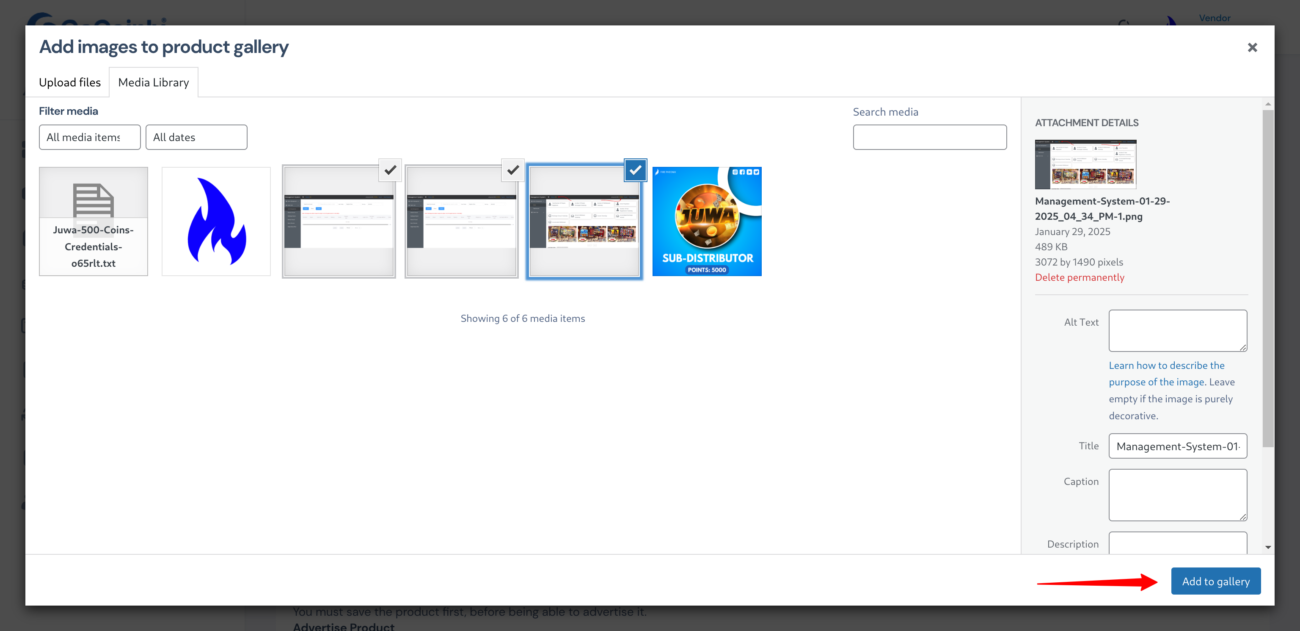
Step 8: Upload Screenshots of Game Backends with Coins Highlighted
- After Uploading Product Image: You’ll see the section to add product gallery images.
- Add Screenshots: Click on the “Upload Screenshots” button to upload images of the same game backends with coins highlighted.

Step 8: Add Screenshots of Game Backends with Coins Highlighted
- After Uploading Product Image: You’ll see the option to add images to the product gallery.
- Add Screenshots: Select the screenshots of the game backends with coins highlighted and click “Add to gallery.”
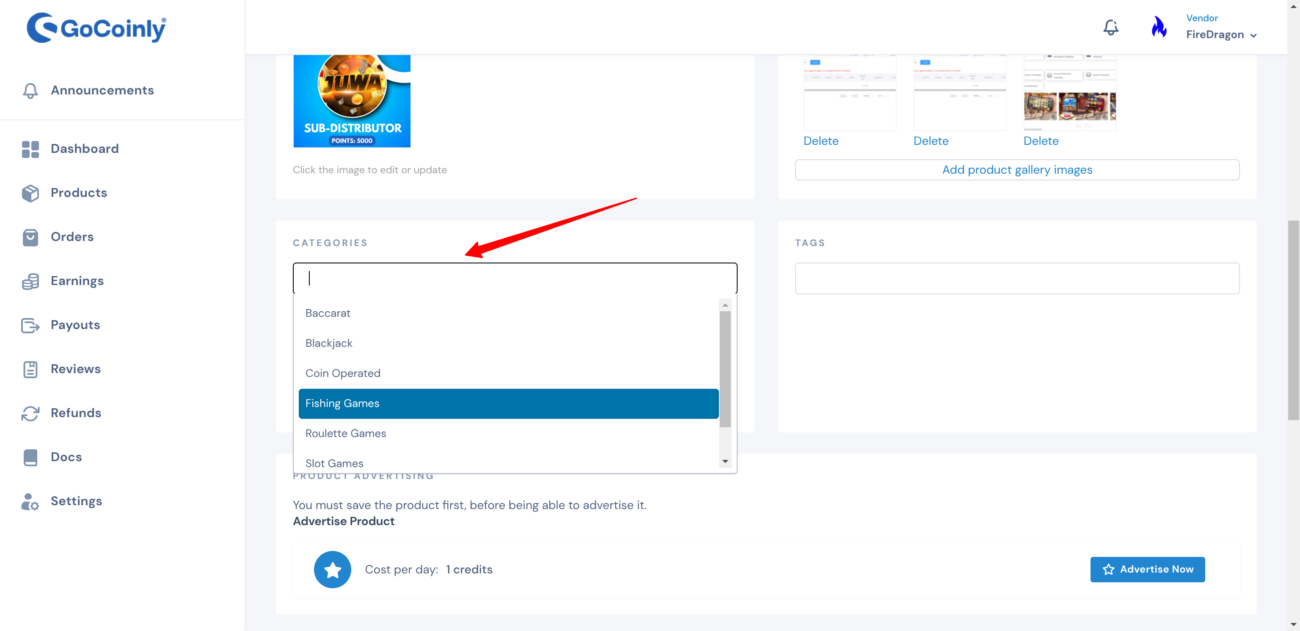
Step 9: Add Categories
- After Uploading Screenshots: You’ll see the “Categories” section.
- Select Categories: Choose the relevant categories for your product.
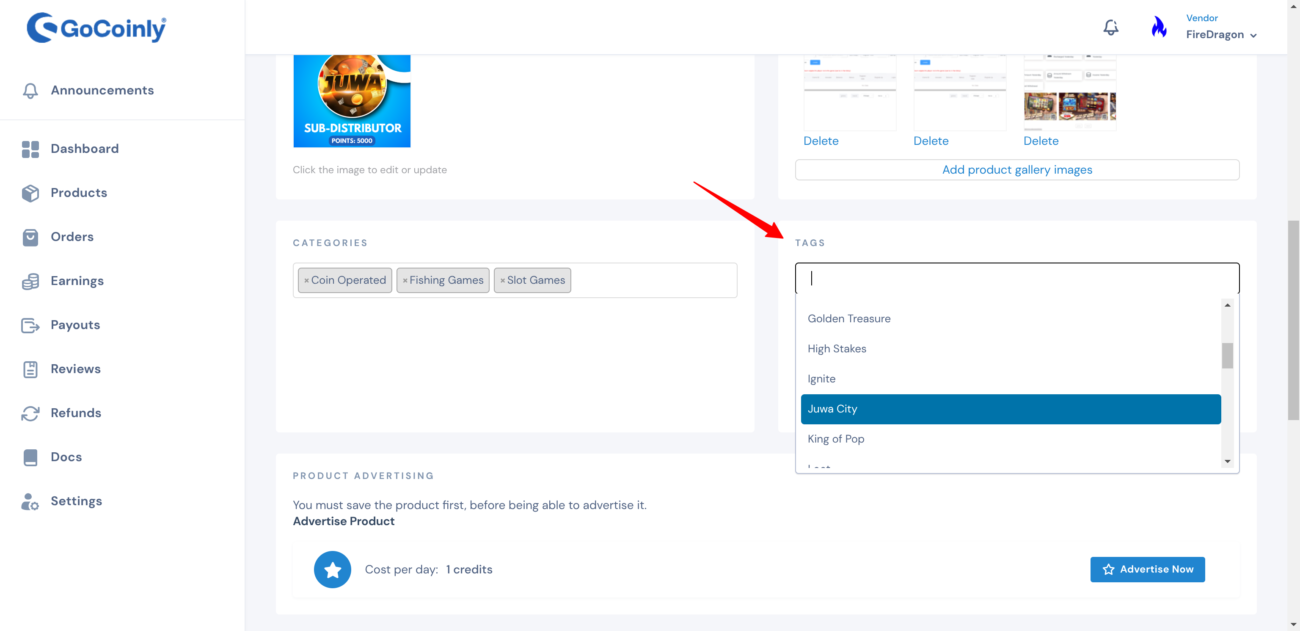
Step 9: Add Product Tag
- After Adding Categories: You’ll see the “Tags” section.
- Select Game Name: Choose the relevant game name from the dropdown menu (e.g., Golden Treasure, High Stakes, Ignite, Juwa City).
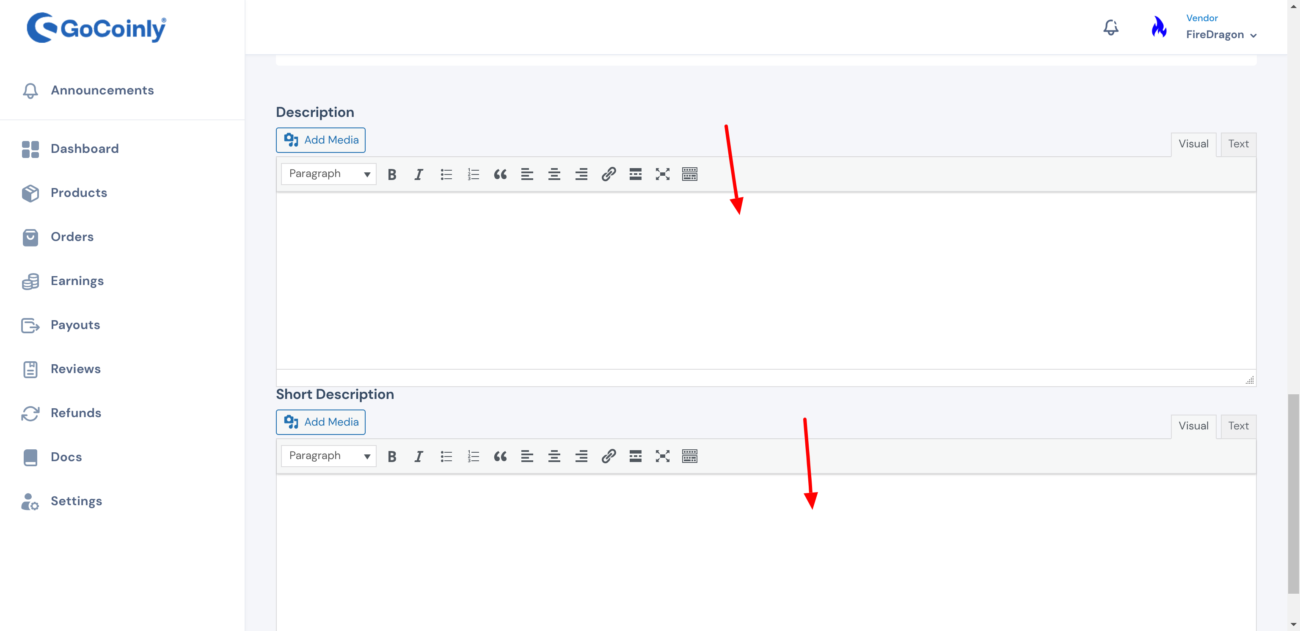
Step 9: Add Short and Long Descriptions
- After Adding Product Tags: You’ll see the sections for “Short Description” and “Description.”
- Enter Descriptions: Fill in the “Short Description” and “Description” fields with relevant information about your product.
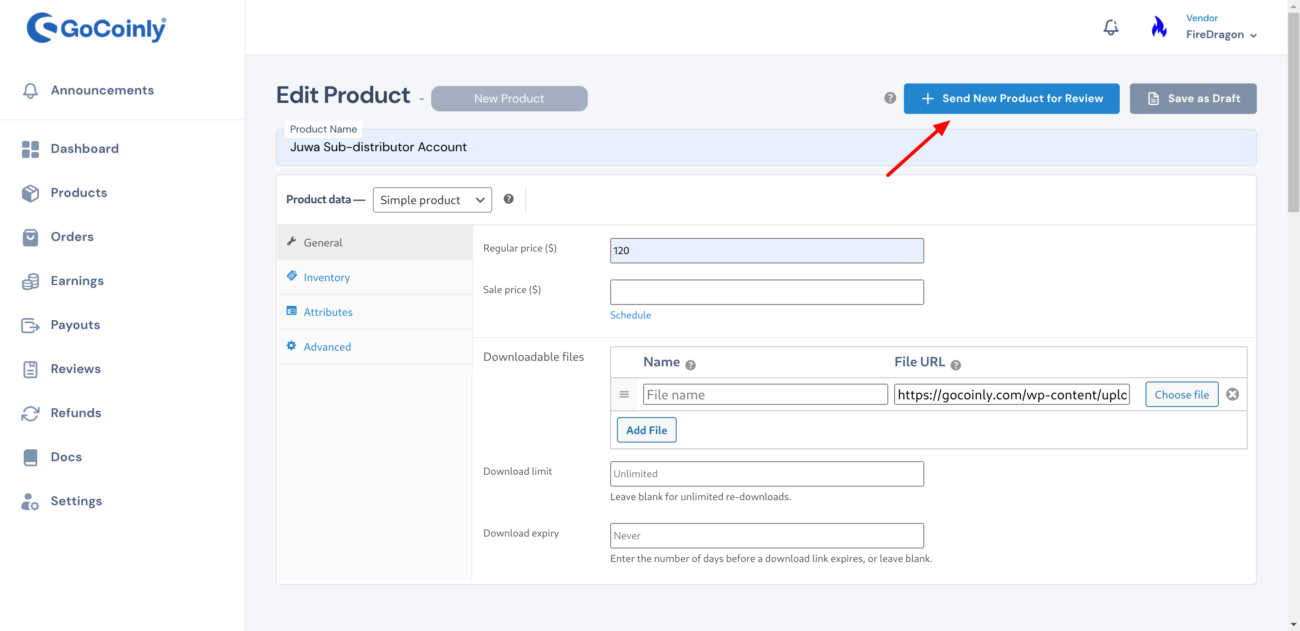
Step 10: Send Product for Review
- After Entering Descriptions: You’ll see the “Send New Product for Review” button.
- Submit for Review: Click the blue “Send New Product for Review” button to submit your product. The GoCoinly team will review it manually and publish it if the credentials are valid.
End 🙂