


How to Manage Earnings
Step 1: Navigate to the Earnings Section
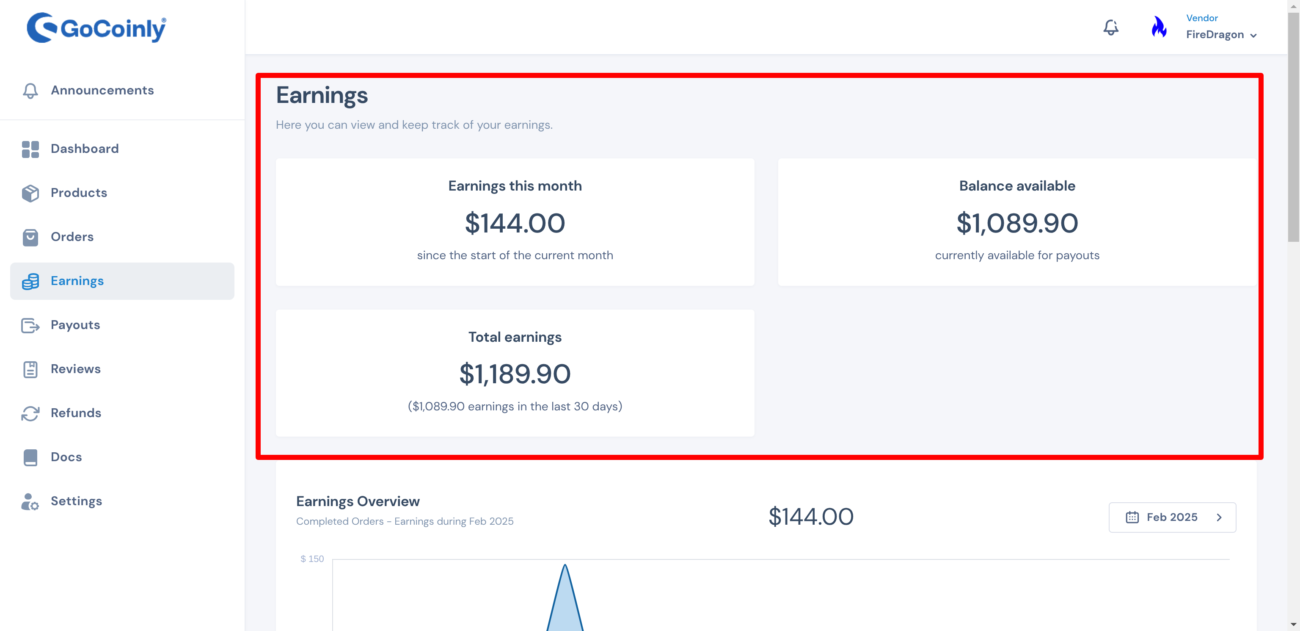
- Dashboard Sidebar: On your vendor dashboard, locate the “Earnings” option in the left-hand sidebar. Click on it to view your earnings summary.

Step 2: View Earnings Overview
- Earnings Overview: You’ll see a section that provides an overview of your earnings, including “Earnings this month,” “Balance available,” and “Total earnings.”
Step 3: Detailed Earnings
- Earnings this Month: This shows the amount you have earned since the start of the current month.
- Balance Available: This indicates the amount currently available for payouts.
- Total Earnings: This represents your total earnings, including the amount earned in the last 30 days.
Step 4: Analyze Earnings Graph
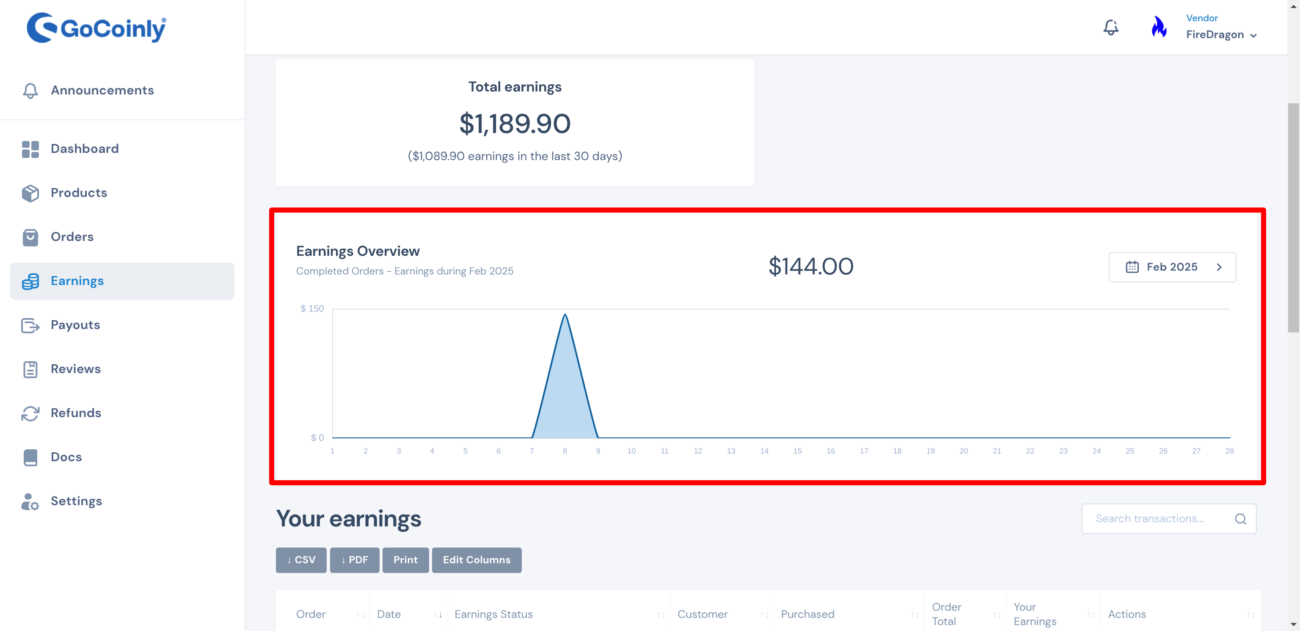
- Earnings Graph: This section displays a visual representation of your earnings over time. Each point on the graph represents the earnings from completed orders within a specific time period. Use this to track trends and understand your earnings performance.
Step 5: Scroll Down for Additional Earnings Details
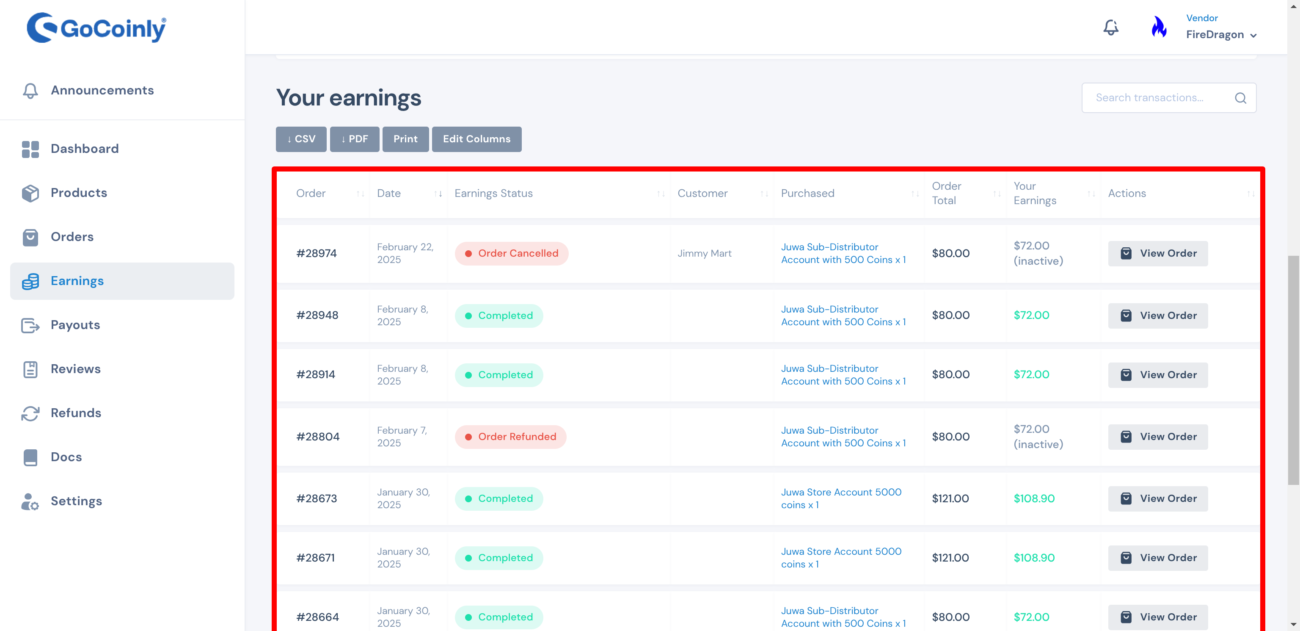
- Order List: As you scroll down in the “Earnings” section, you’ll see a detailed list of all your orders. Each entry includes:
- Order Number: Unique identifier for each order.
- Order Date: The date the order was placed.
- Order Status: Current status of the order (e.g., “Cancelled,” “Completed,” “Refunded”).
- Customer Name: The name of the customer who placed the order.
- Product Name: The name of the product purchased.
- Order Total: Total amount earned from the order.
- Vendor Earnings: The vendor’s share after marketplace deductions.
- Actions: Options to view order details and take necessary actions.
End 🙂